Image Repairs and Corrections:
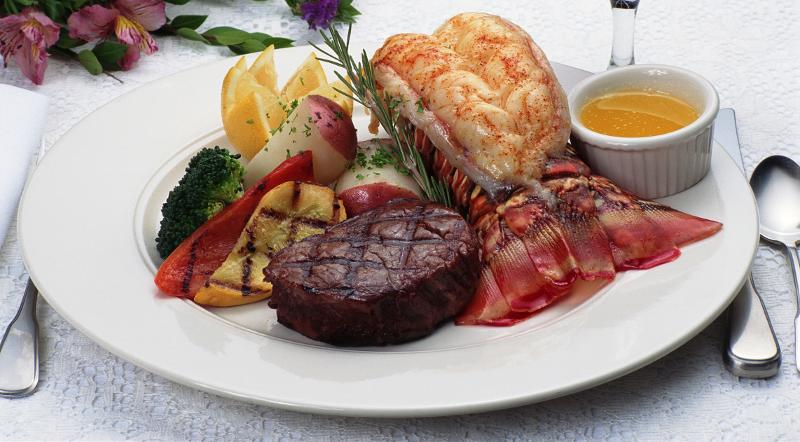
These pictures will be used to enhance a menu used by The Chateau, a family owned restaurant.
This classic family picture has been loved for generations. A blur was used to get rid of the grain in the photo that came from scanning the picture into my computer, where I could work on it with photoshop tools. I removed stains, scratches, and creases.
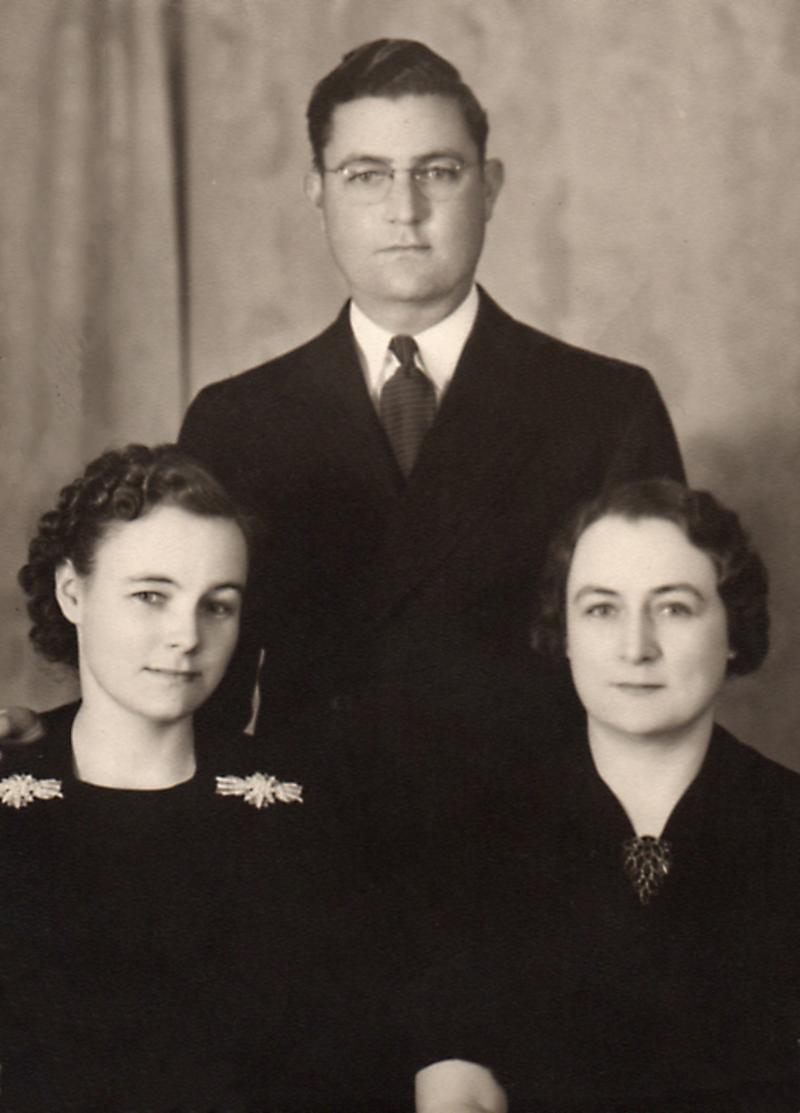
Brightness and contrast are adjusted in this photo to remove shadows, and to make it easier to see the details.

This is a great photo, and a little bit of level adjustments makes it great. Input sliders adjust both the extreme light and dark, and the tones in between.
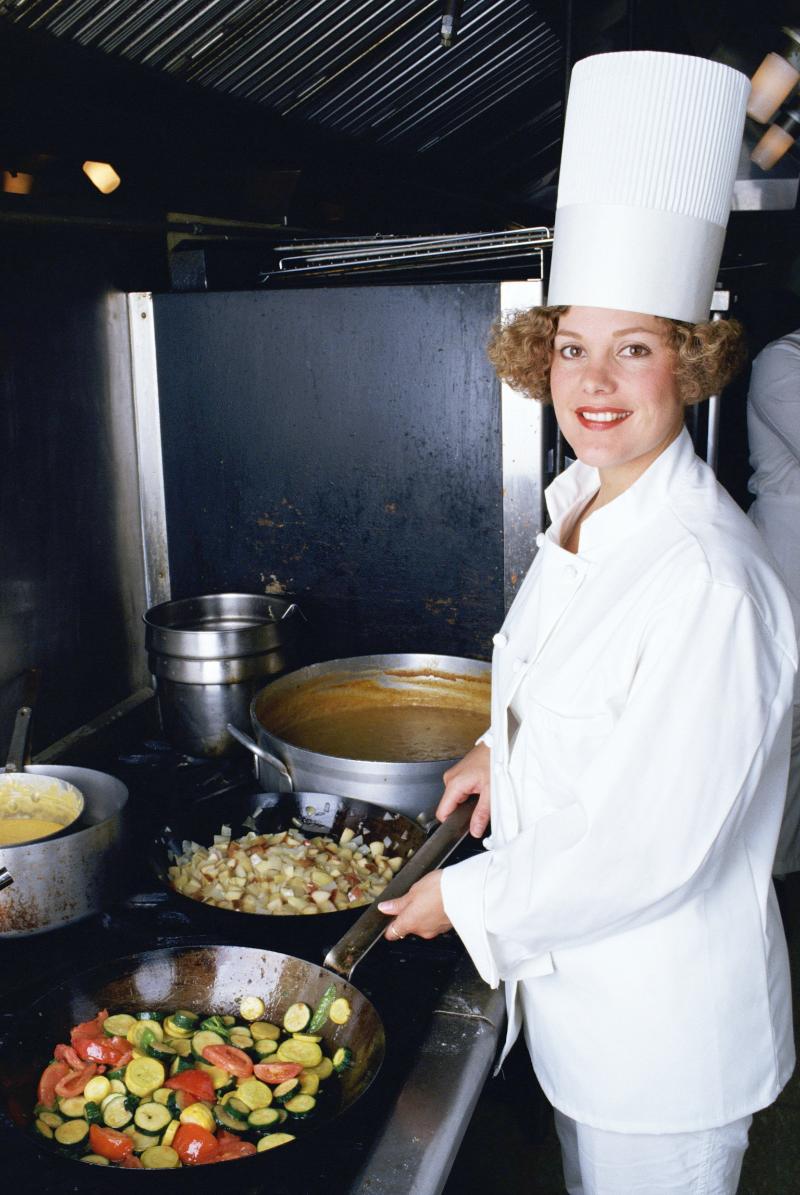
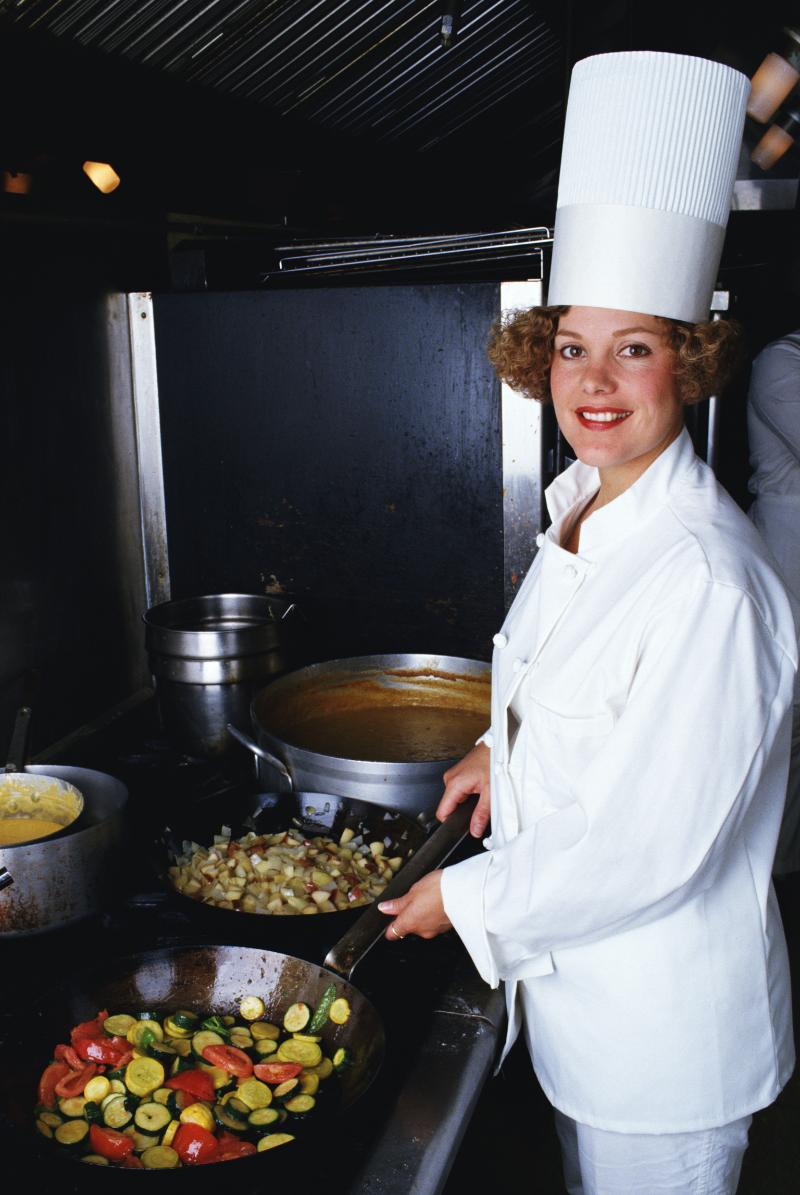
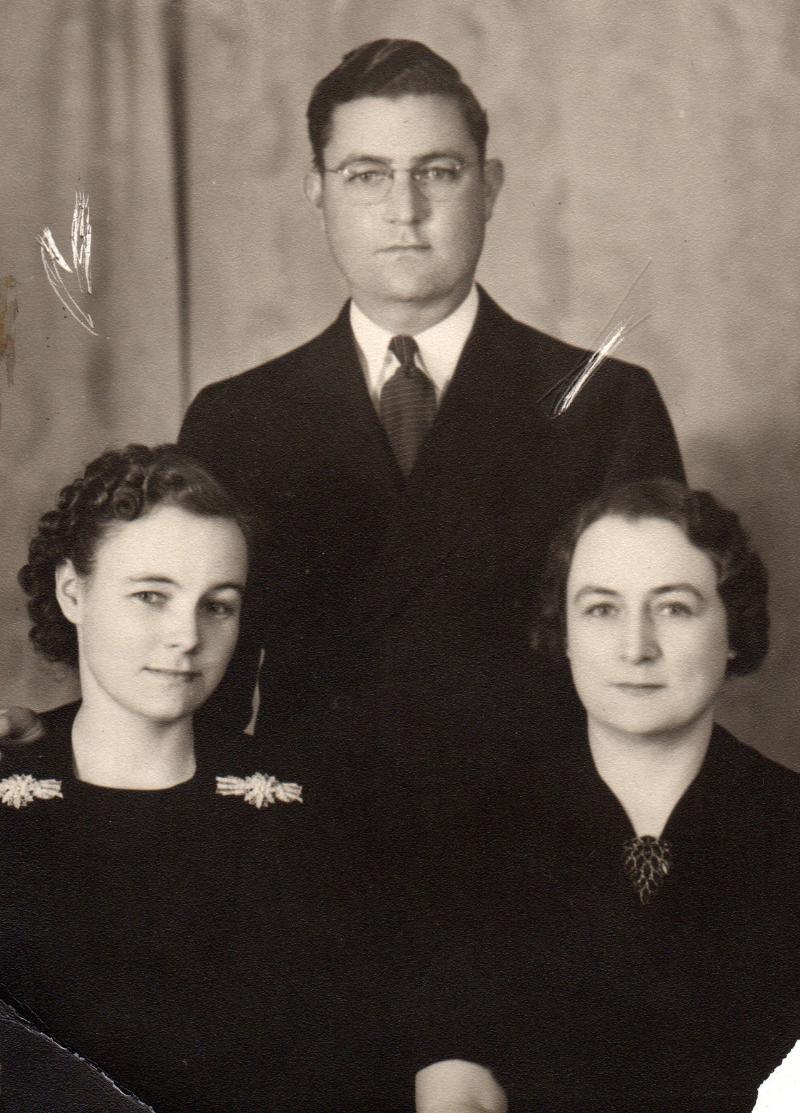
Lighting problems created an underexposed photo. This can be corrected, providing there is not too much over or under exposure. By selecting white and black from the photo and entering it into the tool, the Gamma Correction slider can increase contrast and brings out detail in the image. The Offset slider is used to bring detail back to the midtones (the colors between the extreme light and dark).
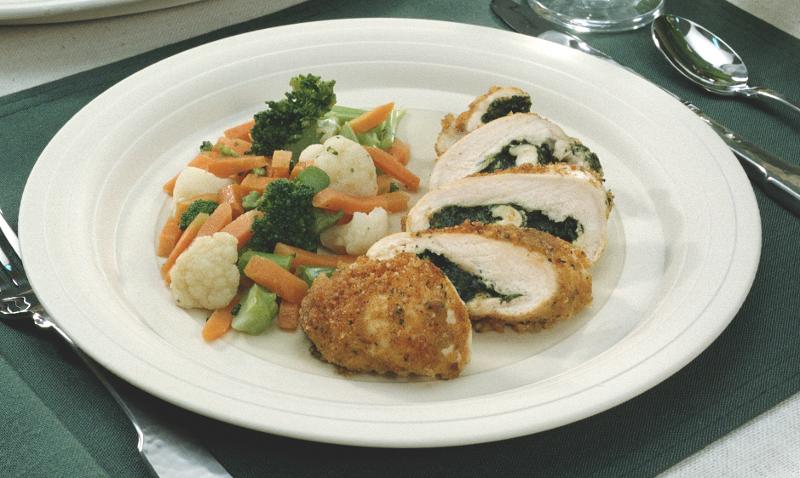
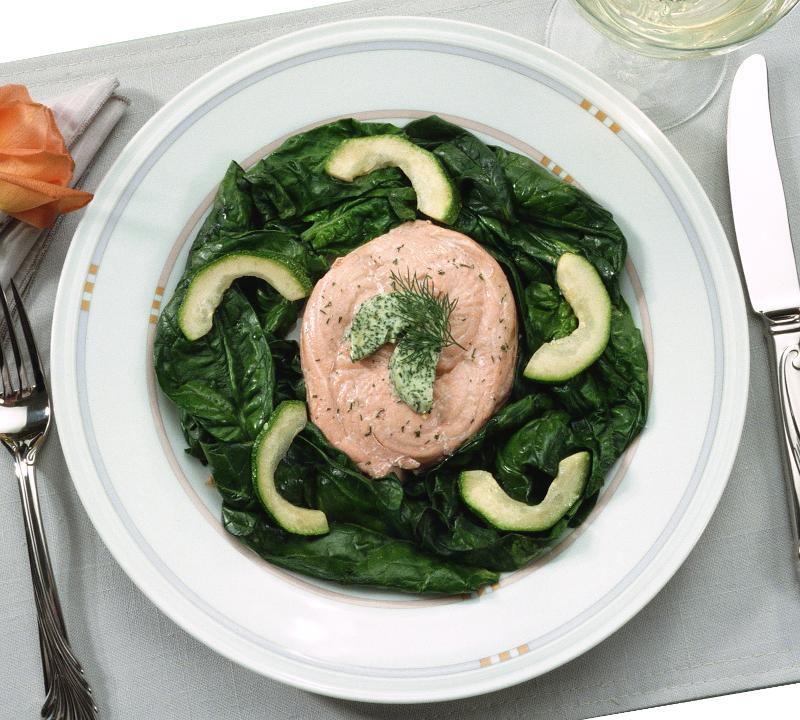
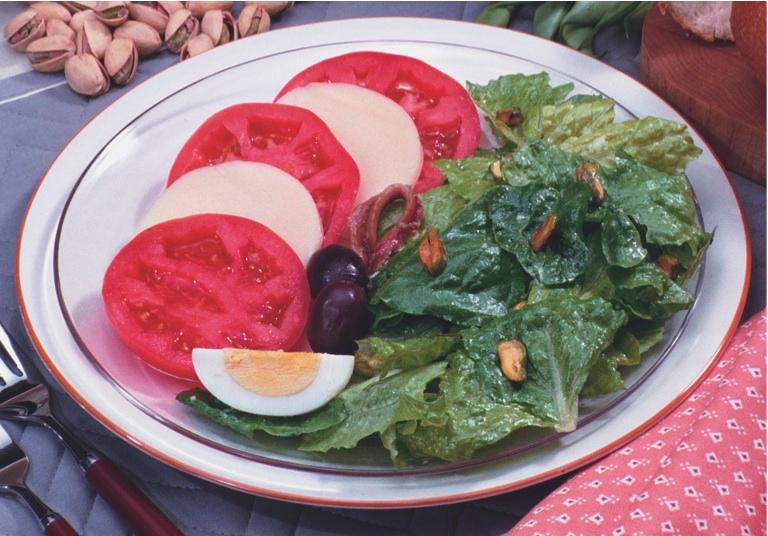
The colors were out of balance in this picture. There was too much green. Color samples were taken with the Color Sampler tool, and adjusted using the Color Balance tool.

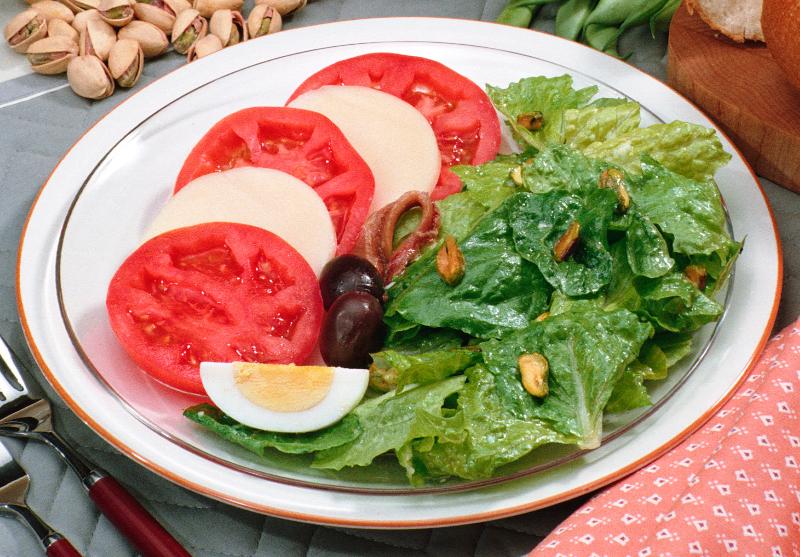
Curves were used to neutralize the strong red cast seen in the original photo. Curves were also used to adjust the blue and green colors, so that (with the decreased amount of red) they do not over power the picture.
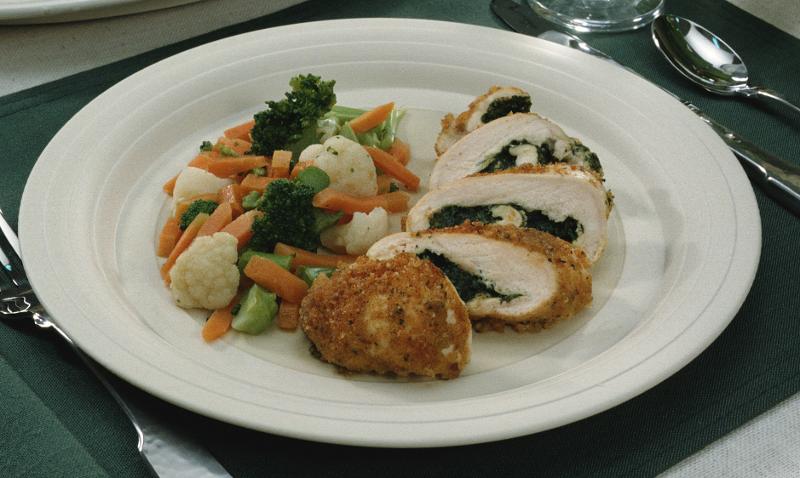
Adjustment curves were used to adjust the contrasts and overall improved the image detail. They also were used to enhance the overall image color.

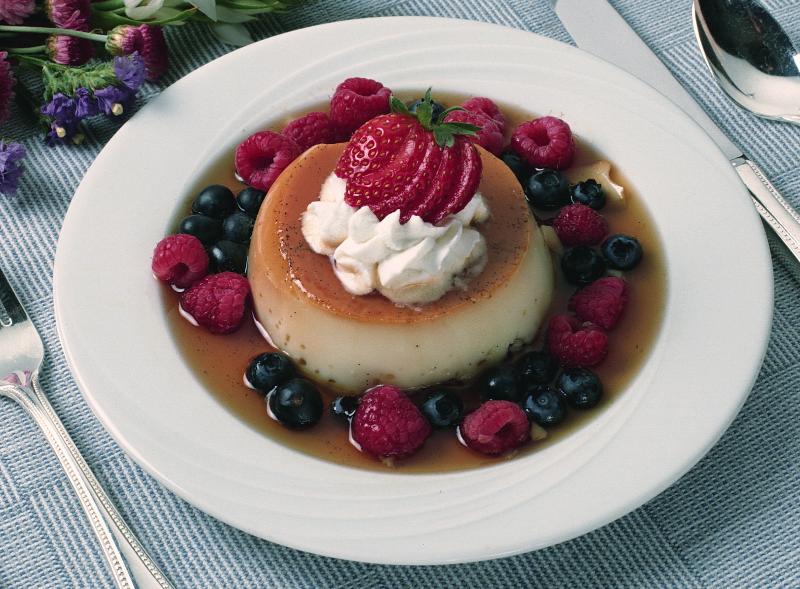
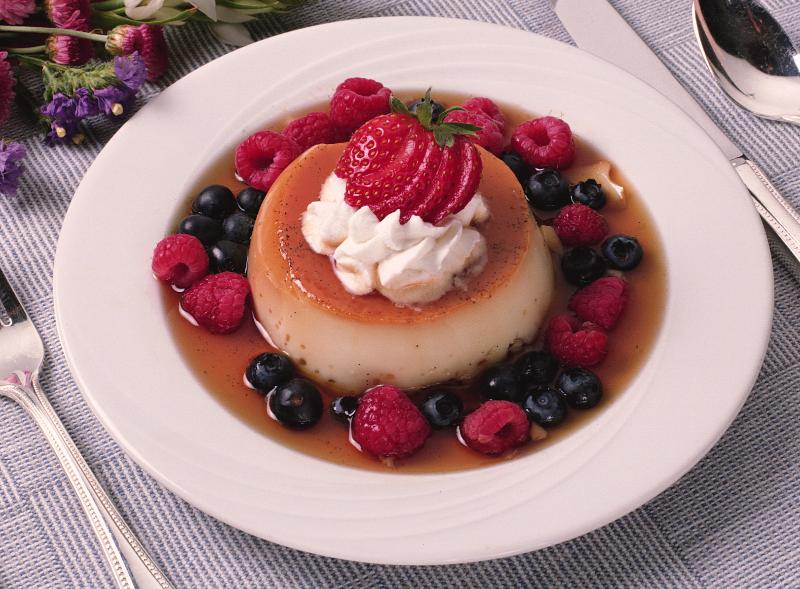
When an image needs to be printed, it is necessary to change it from a RGB color mode, which is for photos that will be displayed on monitors, to CMYK, the color mode used on color printers. The second picture looks better on a video monitor, but when the image needs to be printed, a Gamut tool is used. The Gamut shows which colors will not show up on a sheet of printed paper. The video designer needs to fill those areas with colors that are close to the original, and are members of the CMYK color mode. The Gamut tool is a guide to prevent white spots on the (white) paper, by showing where the color incompatibility occurs.
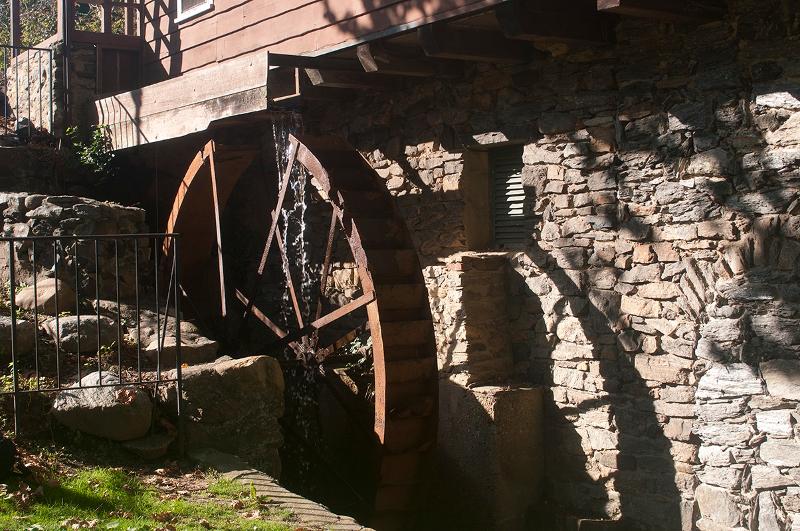
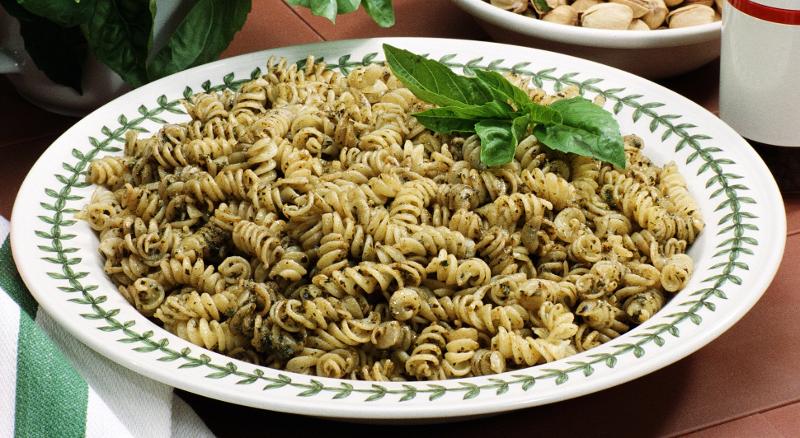
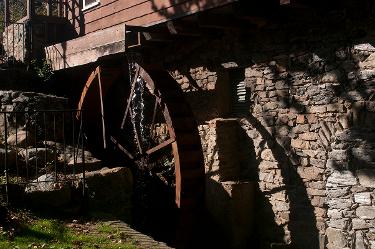
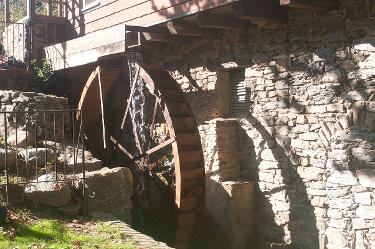
This picture is a composite of 5 pictures taken at the same time and place. The only difference was the different exposure settings. The images are on top of each other and the best portions of each show in the first photo. The multiple shots were needed because there is never a good time to take a good picture in this location. The trees cast shadows all day.
Composite Photo
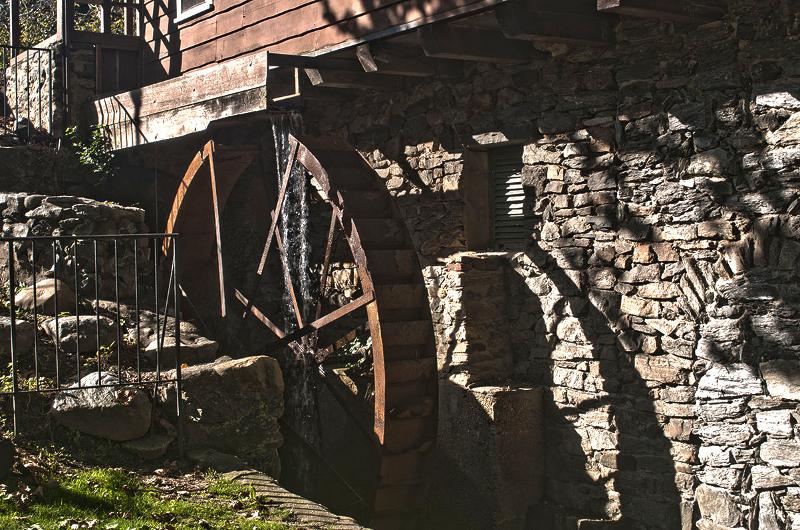
-1EV -2EV
 | 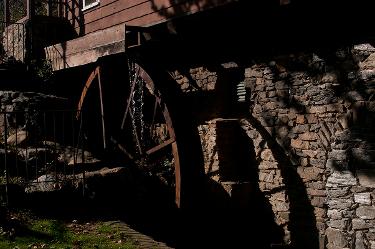 |
+1EV +2EV
 |  |
0EV